Adding Attributes to your store
Adding Attributes to your store is broken down into two parts.
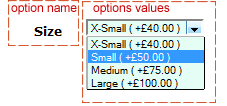
Add the option name (like colour or size)
Then add the options values (blue, red or small, medium, large etc).
You don’t have to add every value to every product.
You could have one item that comes in blue, black, red and green and another item that come in blue and black.
You would add all these to a option name called “colour”.
Then you would add all the option values (blue, black, red and green).
When you add your product you will only select the option values that apply to that item.
Start by adding the options name, go to Product Option page (Catalog–>Option Name Manager).
If there are any attributes already set up they will appear in a list on this page, below the list is a form to add another option name.
Enter the Option Name in the first field, this will be visible to site visitors, so keep it simple, Size, Colour etc.
The sort order decides what order this option come on the product page (if you have more than one attribute set on a product) this can be left blank.
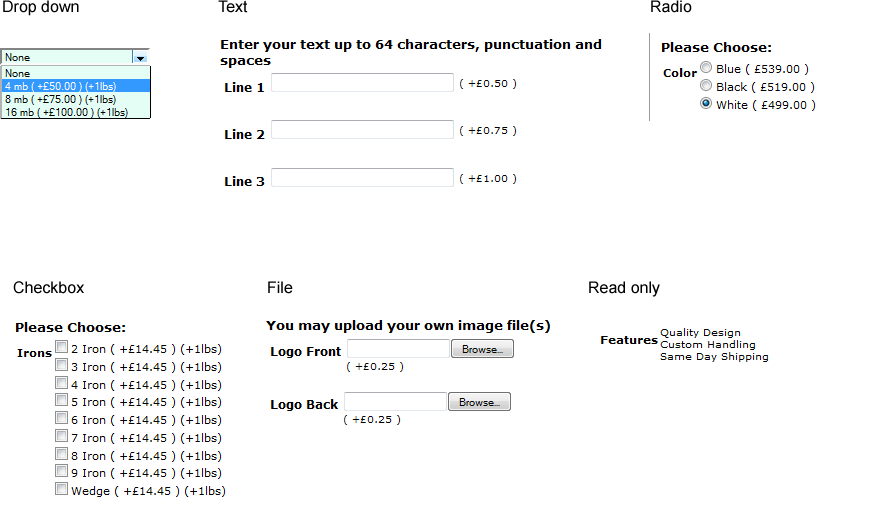
The Option Type decides how the option values are displayed on the site.
The options available are Drop down, Text, Radio, Checkbox, File, Read only
The layout and style may vary depending on the style of your store!
Select the display method that best suits your products and press insert.
Dropdown and Radio are the best options if only one option value is required to be selected.
Checkboxes allow multiple option values to be selected.
Read only, is for displaying message to the customer only.
File upload and Text are for receiving files or text from the customer, this could for a custom printing or personalising a product.
Do not use text fields for instruction regarding delivery, that is handled in the checkout process.
Now you have the option name you need to add the options values.
If you’re still on the the Option name page you can click the option value button near the top of the page or use the main admin navigation (Catalog–>Option Value Manager).
To add a new option value use the form on the page.

Select the Option Name the new option value belongs to, enter the Option Value in the box (eg Red), enter the sort order (which decides what order the values are displayed) and click insert.
Keep adding option values until you have all the different options values required.
One useful tip is to add an extra option value to each option name, something like “Please select your size” or “choose your colour”.
When we add the attributes to the products we can select this as the default field (so its selected when a shopper lands on the product page) and force a shopper to choose one of the other options.
This stops customer buying a product without specifying an option that’s required to complete the order like size or colour.